Showing posts with label white. Show all posts

It Ain't Easy Being Green

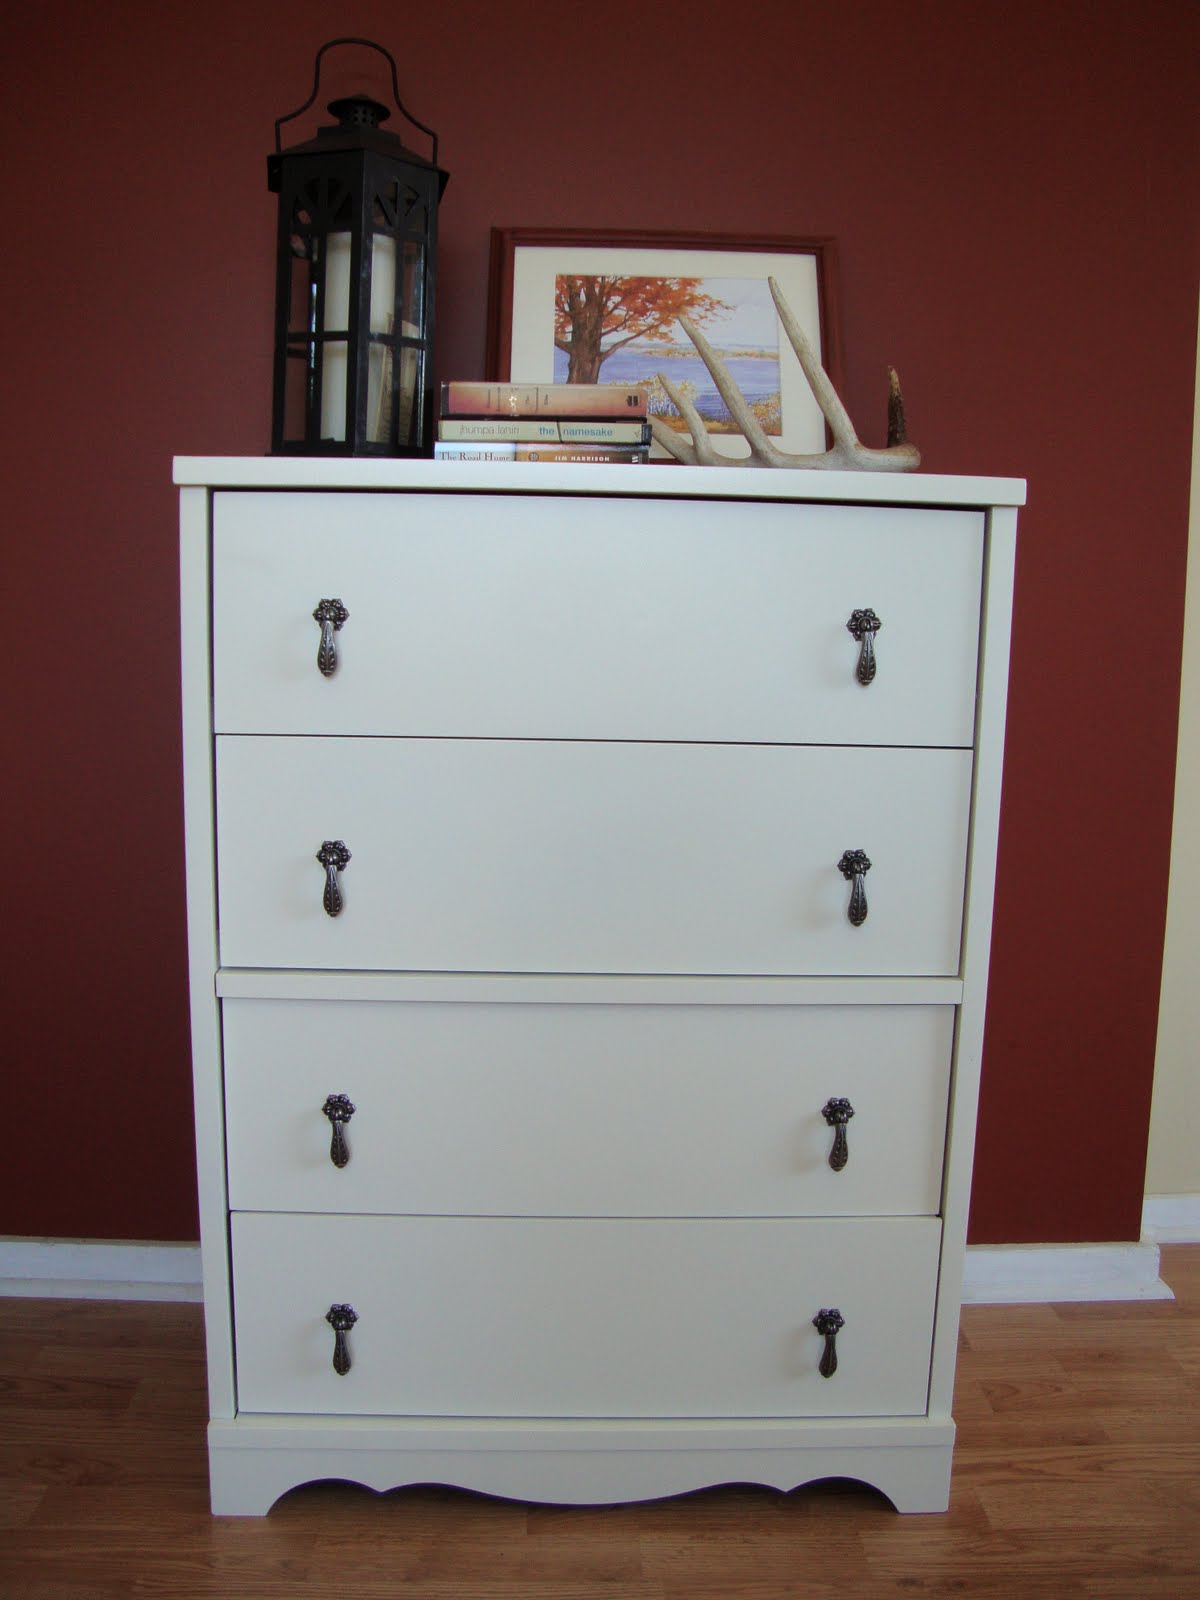
I had been eyeing this little green dresser for sale on Kijiji for a little while. It was originally listed for $30 bucks but I waited it out and it eventually dropped to $20. That was a little more my price range since it would need new hardware and probably a strip down. I was willing to do a little stripping (no, not that kind!) since I had such an easy time with this dresser. When I picked it up the drawers were a little sticky so I decided to take the paint off.


This time it did not go as well. Even though that first dresser had three coats of paint on it all came off easy. This green dresser had a layer of primer underneath which made it a little harder. Putting on a layer of stripper took off the green no problem, it was the primer that was giving me trouble. After the green was off I kept trying to put on stripper to get the primer off but it wouldn't bubble up. I was doing a combo of scraping and sanding to get it off. Of course, now that I think about it, why was I so intent on getting the primer off when I was just going to put more back on? I think I'm a little OCD.

Anyway, I finally figured out that after the paint was off I could just put the stripper on the primer, let it sit a little, then kinda swirl it around with the brush and then wipe it off with a wet cloth. I was almost done when I found this "technique".
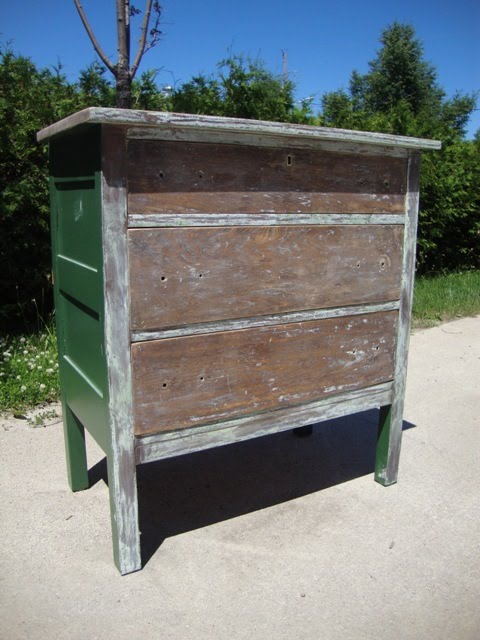


I love these keyholes! Has anyone had any luck trying to lock and unlock these with a bobbypin or something?


Painting around the keyhole presented a problem since I use a paint sprayer, so I covered it with tape while painting. However some paint came off when I took off the tape. I had to sand it a bit then paint with a modified makeup brush. I really need to buy some small brushes!


The dresser also came with a mirror that had not been painted green (whew!). Although, one side of the mirror frame had broken off at the bottom so I hacked off the other side so it would be even. I picked up some antique brass pulls to match the keyhole.


The "oops" can of paint that I picked up for this said the colour was "pale yellow" but it's more of a creamy white. I think it's perfect for this piece. I love this dresser, it turned out so pretty!


Because I like to party;
giveawaysFurniture Feature FridaysPhotobucket

Pretty Paisley

I went looking for a new dresser to makeover and I hit all my local thrift stores. No luck at the first and second one but at the third store I spotted this dresser and quickly checked it out. A little too quickly. I wanted to get a sold sticker on it so no one else would try to snap it up. I should have taken a closer look but I was looking for anything to take home at that point.


It's an okay dresser, but not great. The top and drawer fronts are pine (a very soft wood) so they are kinda banged up. I thought the drawers were wood at first look but they are actually MDF with a pretty convincing woodgrain-looking paper on it. Boo. Even though the dresser was only $3.50 (yep, you read that right, only 3.50!) I felt like I should have passed on it.

I got it home and tried to rough it up with some sandpaper but it seemed the stain on it was too thick. It didn't work very well. Although the dresser has some problems, the drawers do slide smoothly and it's clean, so I went ahead with the paint job.


I still had paint leftover from the can I bought for a previous dresser so I used that. I also had more of those wooden oversized knobs that I bought at the Re-Store (aka my favorite store) for $0.25/knob.

Since I had already done two dressers with pink accents I thought I would change it up and do one with blue. I went to Michaels and picked up some Robin's Egg Blue acrylic paint and a paisley stencil.


I tried using a sponge brush with the stencil on a practice piece of wood but it didn't have a crisp enough outline for me. So instead I used a light blue pencil crayon and traced the stencil in the corner. I then used a tiny little brush and painted in the stencil with the blue acrylic paint. It was pretty tedious but only took an hour and half while I watched some tv. Not too bad.


I like this dresser but I don't love it. I'm having a hard time pricing it (so far I've sold all the dressers) because it's not solid wood. It's cuter than anything you can buy at Walmart (not that I'm biased or anything) which is all MDF but this dresser is not new. I guess I'll just have to pick a price and go with it and see what happens!

giveaways

Two Chairs, Two Makeovers

I found these two little chairs at Goodwill and thought they would appreciate a new look. They were both in really good shape, very sturdy. And both were only $3.99....but it was 50% off day! So only $2 bucks a chair!


After Goodwill I headed straight to Fabricland. Which I think is only a Canadian store because I never hear any US bloggers talking about it. There were pretty good sales that day and I picked up a pretty green paisley for $3/m and a blue stripe for $5/m. Each chair got a good sanding (okay maybe a quick sanding) and fresh coat of paint. I had bought a quart of off white (a mistint for only $4.50) and that little can lasted me for one dresser, a nightstand, two chairs and a side table. I think when you're using a sprayer your paint goes farther. Anyone else agree?

The hardest part was removing all those staples! And it's really hard on your hands. I used a flathead screwdriver and some plyers (or is it spelled pliers?). After I removed the old fabric I decided the padding of the chairs was still in good shape so I used it again.

For the green chair I just traced the size of the old fabric onto my new fabric, cut it out, stretched it tight and stapled. I stapled in the middle first on each of the four sides and then worked from the corners. Easy Peasy!


For the blue chair I had to use my sewing machine for the back cushion since the fabric is visible from the back. I just sewed a simple slipcover like a pillowcase and tried to taper the corners. Then I stapled the fabric to the bottom of the cushion. For the seat of the chair I just wrapped the cushion and stapled. The original fabric was more tailored but I was being lazy and didn't do it the same way. I should have because I'm not really happy with the way it turned out, but live and learn. Next time I should just take a break and come back to it later.


Isn't great what a little paint and fresh fabric can do?

Linking with Today's Thrifty Treasure at Southern Hospitality

Adorable Retro Nightstand

I was shopping at Michaels and found the cutest little knobs and they were only $1.50 each! I picked up two of them even though I didn't have a project to use them on. I went right to Goodwill in hopes of finding a little cabinet or nightstand that would only need two knobs. Lucky day! I picked up this nightstand for $2.99. It was in fantastic shape (like all the old stuff usually is!) and so friggin' adorable.


I primed first and then used some white latex paint (in the paint sprayer) that I had already on hand. It is such a small piece that it took no time at all!


Here's a close up of the knobs. Michaels had a few different styles of these knobs and now they're even on clearance for $0.70.


Curbside Creation

After finishing the birdie dresser I was a bit addicted to the "before&after". So off I went to Goodwill to find something else to work on. On the way there I found this little dresser at the end of someones driveway. It's a bit on the ugly side and made of MDF and veneer. And take special notice of the lovely shiny brass handles!


After a nice paint job (and this time I used my husband's paint sprayer!) and some new drop pull handles, this dresser is beautiful.

A Little Birdie


I was lucky enough to come across this dresser while on a walk. The neighbours were just going to throw it away! I waited until my husband got home so we could go and snatch it up. After I got it home, I sanded this dresser to scuff up the finish. Then I primed it using a little foam roller and a brush to get in the corners. I painted (also with the foam roller) with a white latex paint with an eggshell finish.

I drew the bird and branch design onto contact paper and then cut it out. I placed it to the drawers and spray painted using Krylon's Watermelon.


I covered everything with two coats of spray Varathane.

Here is the result:


Visit thecsiproject.com